

Well, it took long enough be I finally was able to give Wrath of Kings a test drive. I've been slowly increasing my armies for months now and even though I keep planning to try it out it just hasn't been in the cards until now. The question is, how did it go? Read on and let's find out!
For this scenario I decided to use the two patrol forces that I'd posted earlier this year. I've actually bought and assembled more since then but for now this seemed like a good starting point. For Teknes, this amounted to six union workers, four linemen backed up by one warsmith, a zaalak, and a galvanic defender, with patrol led by a union boss with a
defender lineman controller as his second. Meanwhile on the Goritsi side of the table there were three Skorza skirmishers and six Ravenscar mercenaries, all led by a Skorza alpha and a Ravenscar sergeant as his second, supported by both a shield breaker and a scourge hound. These are pretty generic forces which was the intention; I wanted to see how these played right out of the starters... though I did throw in the warsmith just because I had her available.
Another important aspect of this game is that each faction chooses a motive before the game. This has additional in game effects and really defines what each army is trying to accomplish. In this case I decided to give them both steal intel. Each side was given a pool of tokens equal to the total leader ranks (two in this case). When a model attacks an enemy leader or specialist (Oops... missed that last bit. Thought it was only leaders.), if the model hits than it gets one of the markers. At the beginning of the model's next activation, the enemy force looses two morale points and the marker is removed from the game. Since the Teknes force had a morale of seven while the Goritsi had a morale of six, just those two markers could seriously hurt either side.
As for the gaming surface itself, I considered just spreading my new battlemat on the floor but I decided to go with the smaller tabletop first. At 3' long it was just enough that I didn't have to adjust too much for the deployment zones and it let me wander around a little easier as I checked rules and stat cards.
Speaking of the game surface, another interesting thing about this game is how little terrain is called for. After Antares where an open fire lane is a dead zone, WoK has very little ranged combat and even then the ranges are quite small so its not like you need to block LoS. The official rules call for one to three pieces per player so I decided to split the difference and put down basically three pieces total; two small woods and some scattered walls like the remnants of a building. Once that was done, I randomized the starting edges, deployed the troops, and rolled for initiative!

The game began with me accidentally reversing the initiative. Teknes should been first but... oh well. Instead the scourge hound raced forward to get into a better position, bringing along the nearby skirmisher in the process.

The first of the little pigs went next with three of the union workers moving forward but not sprinting. They didn't want to get too close to the Ravenscar without having an attack ready.

Of course the Ravenscar didn't have an issue with getting closer. Three of them sprinted forward and used their combat reflexes to maneuver behind the pigs.

Not the best plan as they quickly turned into a bacon sandwich as the boss charged forward with the rest of the pigs. Only one of the mercs died but still not a good place to be.

The Skorza alpha went next sprinting forward with his two werewolf brothers, heedless of the zaalak hiding in the bushes.
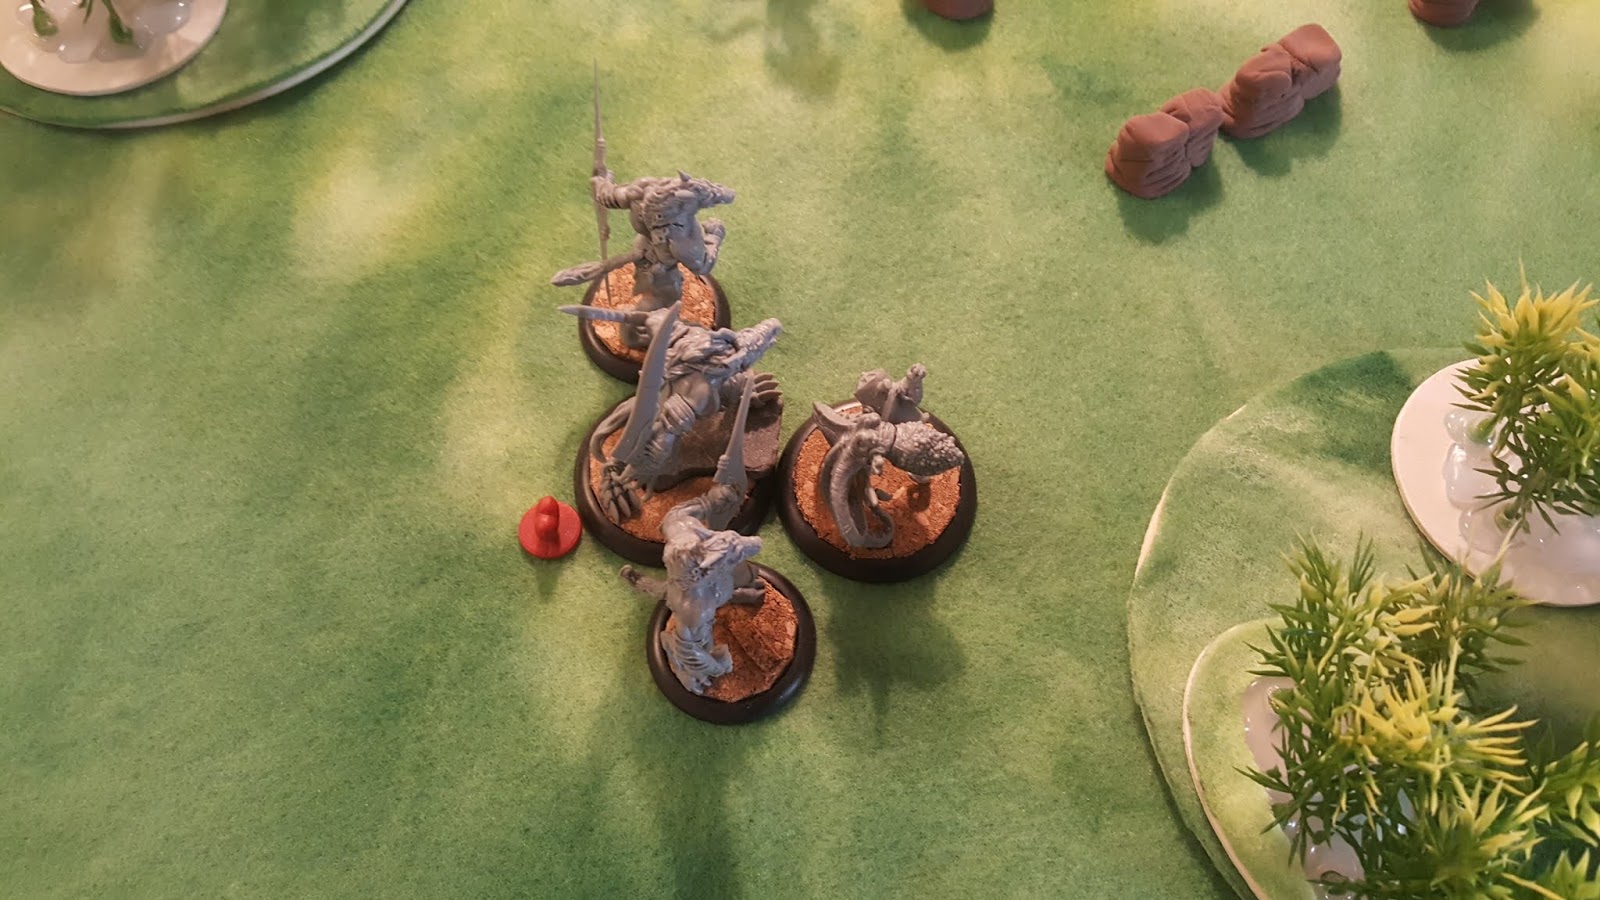
The zaalak which promptly burst forward and lashed out at the alpha, inflicting a single wound for its efforts.

The galvanic defender went next, moving forward and activating his galvanic feedback aura.

Meanwhile on the northern side of the board, the Ravenscar sergeant charged forward with the rest of his troops and attacked some of the union workers that now surrounded the rest of his troops. Unfortunately their blows were casually knocked aside by the porcine brutes.

Three of the defender linemen moved next, positioning themselves between the approaching Skorza and the galvanic defender to take advantage of his galvanic feedback aura. (In hindsight this was somewhat pointless as the Skorza have no magical attacks but that's what happens when you are learning the game.)

Next shieldbreaker moved up, turning away from the linemen to get into position to attack the pigs next turn.

The last of the Teknes force moved up to beside the galvanic defender, just to keep the scourge hound from getting any ideas about flanking him.

Lastly lone Skorza on the northern side of the board charged forward to end the turn. She lashed out at one of the pigs but wasn't able to land a blow.

Initiative for turn two went to Teknes and the zaalak sprang into action, securing the intel it had stolen from the alpha before lashing out with it's tentacles to no effect. Then again, it already cost Goritsi two morale points with the info that it had taken so it had already served it's purpose.

The Ravenscar went next and the sergeant was able to down one of the pigs by himself but two other mercs only wounded another even with their combined strength.

The pigs responded by taking out one of the mercs and the sergeant to boot. This would be another two morale points gone unless that little piggy could be stopped!

The skirmisher looped around and attacked the offending pig but just couldn't land a killing blow.
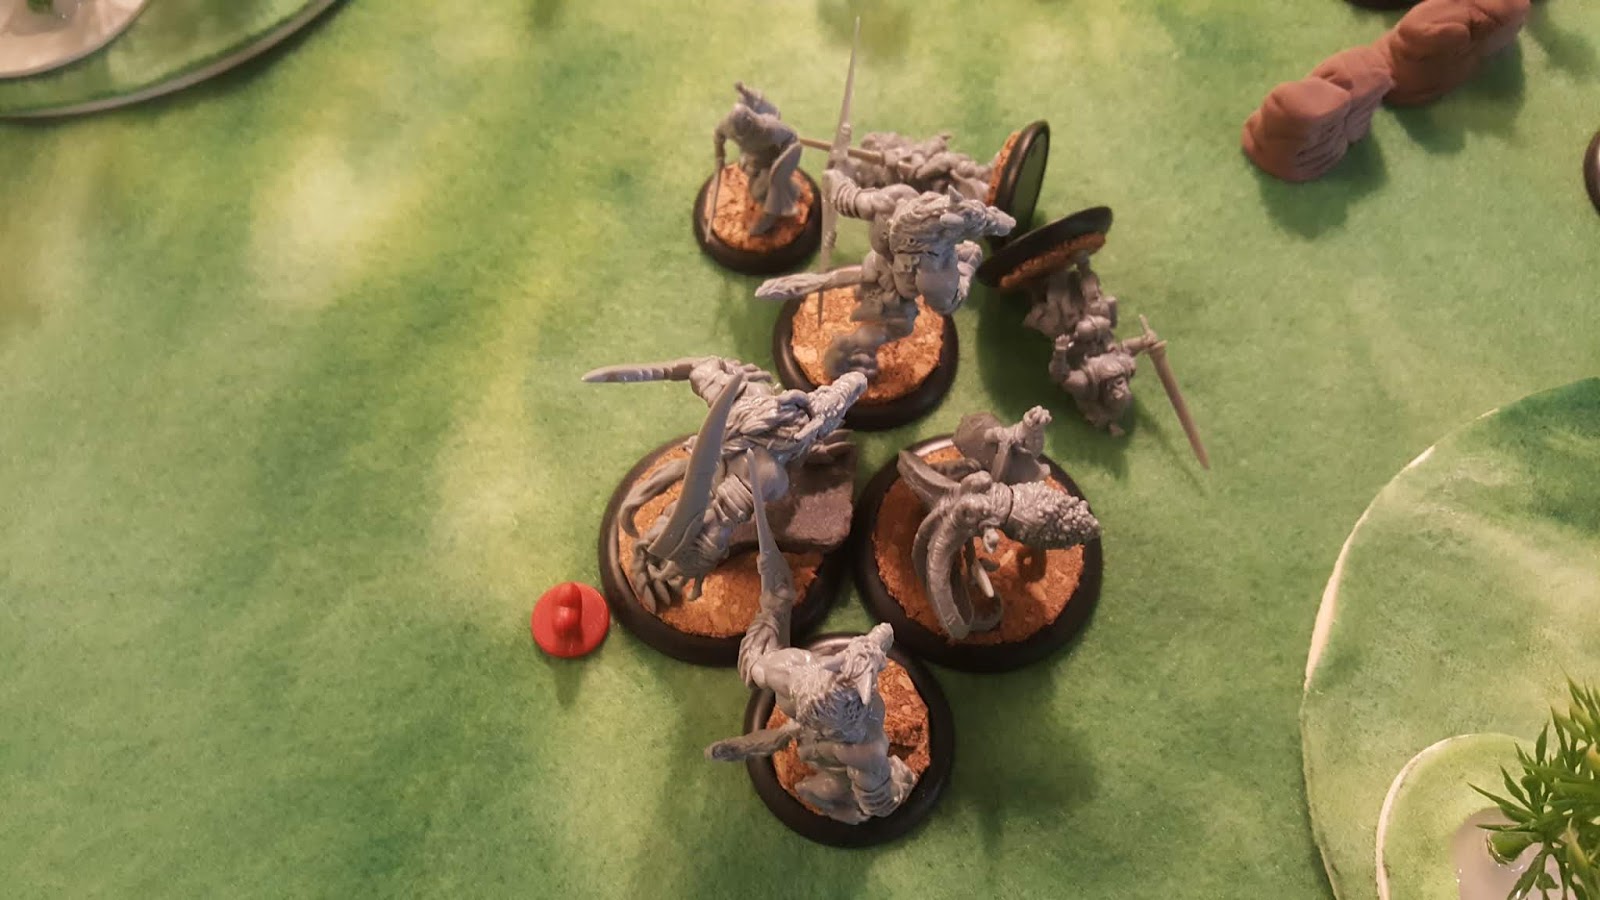
The three linemen moved forward next to try to tie up the Skorza but in the end they only enraged it. Slicing down not one but two of their number, the enraged wolf now had a clear path forward.

The last pig activated next, hacking into the mercenaries that were attacking him and dropping one in the process.

Finally in position, the shield breaker charged at the pigs but fell short of making contact with them... or so I thought. I later realized that I looked at the wrong card. His huge axe appropriately enough give him a 2 inch melee range but I looked at the card for the skirmisher who has to be in base contact. Whoops!

The galvanic defender went next, moving clear of the other Teknes troops to launch a magic attack at the shieldbreaker, piercing his armor and inflicting a wound in the process.

The scourge hound took advantage of the opening and charged forward, her blades flashing as she sliced into the galvanic defender who blocked her attack. The lineman controller than moved forward and slammed his hammer down into her, sending her crumpled form to the ground.


The lineman controller attacked next, supported by one of the linemen. Their Skorza target went flying back and landedd in a crumpled heap on the ground.


The galvanic defender moved forward to launch another magic attack on the shieldbreaker but this time failed to have any effect on him.

The last Goritsi to left to activate was the only remaining mercenary. His blades flashed through the air but ultimately he wasn't able to hurt the creature at all.
And to end the game, the zaalak charged at the alpha again, not doing any damage but perhaps instead slapping him like it was the end of a Three Stooges episode. "Hey Moe! Hey Larry! You lost!"
Overall I enjoyed the game. There was some back and forth as I was checking rules and such but for the most part it seemed pretty straigthforward. I'd heard elsewhere that the constant card flipping bothered some but I didn't really see it as that much of problem. The combat mechanic seems interesting enough with the different abilities and power modifying the results to create a new dynamic depending on who is attacking.
While I really enjoy the order die mechanic used in the various Warlord Games, Wrath of Kings still has a back and forth so there isn't a lot of down time you are contending with. This can also be affected by losing a leader as that will limit how many units you can activate at once. While not a big deal initially, once a side has moved all of their models they pass their turn. At this point the opponent only has one more activation and then the turn ends so if you loose all your leaders early, you can effectively be caught with your pants down.
As for the two armies themselves, the Teknes were surprisingly tough. In particular the union workers were really nasty. They all have the ability of pain fueled which means that they basically go beserk once they are damaged. This leaves you trying to take them out as quickly as possible because if you just have a bunch of wounded pigs, they are even more dangerous.
The Goritsi on the other had were almost delicate. The Skorza werewolves are very fast and hit like a truck, but if you're not careful they will quickly go down. The Ravenscars seem to be even more fragile but I wonder if part of the problem was their limited numbers and activations. Looking over the unit cards, the Zeti war dancers might have faired better against the pigs because their leader can let you manipulate the damage chart, giving them a slight edge.
I will definitely try mixing things up a bit in the future to see how the different combinations out, plus I still have two more armies to put together. Lots of options here and I'm glad that I've picked up as much as I have. Until next time...

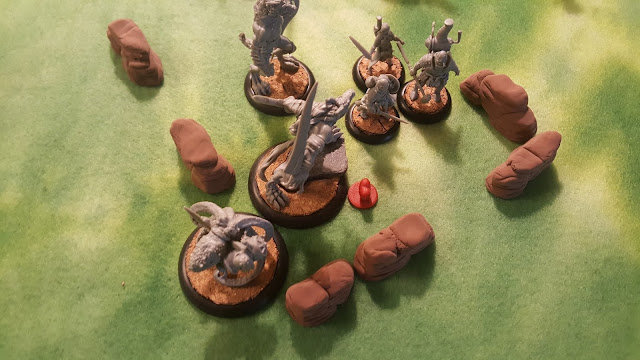
Goritsi won the initiative for turn three and the alpha rushed at the nearby cluster of troops, just barely falling short. The other two Skorza fared better on their movement but only one of them was able to dispatch their target.

The pigs went next, driven on by their boss. With most of them pain fueled now, they were able to down two more mercs and wound the other Skorza. This took the Goritsi morale to zero so this would be it after this turn.

The shieldbreaker broke away from the pigs he was engaging and launched himself at the boss, causing two wounds but still leaving him standing.

The lineman controller attacked next, supported by one of the linemen. Their Skorza target went flying back and landedd in a crumpled heap on the ground.

The lone Skorza by the pigs circled around to try to finish off the boss but wasn't able to land the killing blow.

The galvanic defender moved forward to launch another magic attack on the shieldbreaker but this time failed to have any effect on him.

The last Goritsi to left to activate was the only remaining mercenary. His blades flashed through the air but ultimately he wasn't able to hurt the creature at all.

And to end the game, the zaalak charged at the alpha again, not doing any damage but perhaps instead slapping him like it was the end of a Three Stooges episode. "Hey Moe! Hey Larry! You lost!"
Final Thoughts
Overall I enjoyed the game. There was some back and forth as I was checking rules and such but for the most part it seemed pretty straigthforward. I'd heard elsewhere that the constant card flipping bothered some but I didn't really see it as that much of problem. The combat mechanic seems interesting enough with the different abilities and power modifying the results to create a new dynamic depending on who is attacking.
While I really enjoy the order die mechanic used in the various Warlord Games, Wrath of Kings still has a back and forth so there isn't a lot of down time you are contending with. This can also be affected by losing a leader as that will limit how many units you can activate at once. While not a big deal initially, once a side has moved all of their models they pass their turn. At this point the opponent only has one more activation and then the turn ends so if you loose all your leaders early, you can effectively be caught with your pants down.
As for the two armies themselves, the Teknes were surprisingly tough. In particular the union workers were really nasty. They all have the ability of pain fueled which means that they basically go beserk once they are damaged. This leaves you trying to take them out as quickly as possible because if you just have a bunch of wounded pigs, they are even more dangerous.
The Goritsi on the other had were almost delicate. The Skorza werewolves are very fast and hit like a truck, but if you're not careful they will quickly go down. The Ravenscars seem to be even more fragile but I wonder if part of the problem was their limited numbers and activations. Looking over the unit cards, the Zeti war dancers might have faired better against the pigs because their leader can let you manipulate the damage chart, giving them a slight edge.
I will definitely try mixing things up a bit in the future to see how the different combinations out, plus I still have two more armies to put together. Lots of options here and I'm glad that I've picked up as much as I have. Until next time...


