DriveThruRPG.com

Tuesday, June 25, 2019

Workbench: Painting Machine... Kind Of... Plus I-Sores, and Combat Patrol

I had planned on getting a battle report up this week but I'm thinking that it's going to be delayed until next week.  I've been busy getting some more paint onto my Ghar and I'm pretty happy with how they are progressing.


The command crawler is the piece that is the furthest along though the squad of suits that isn't too far behind.  I still haven't gone as far as weathering yet but I've been adding some details; purple for the plasma generators, red for the sensors, and some black to break up some of the bare metal.


Once I get the squad of suits detailed, I think I'll hit the outcasts and see what I can do with them.  I grabbed the wrong color wash for the skin tones but the one it grabbed seems like it might work out.  It'll be easier to tell how it's working once I use it on a whole mini and not just the small flesh details that are on the command crawler.

I also went through the rest of my Therian miniatures and found some more that I can use as proxies for Isorians.


This gives me even more options for the regular troops though I still need to work out how many points I'm up to now.  Unfortunately it didn't look like there was anything that would really pass for support weapons or drones but this is a good start.

And finally, I've decided to take part in a Bolt Action Combat Patrol tournament next month.  I'd never heard of this format but it is a three round tournament with secret objectives for additional victory points, and a force limit of 450 points.  I'm excited to give this a try though I'm finding myself torn.  I'd planned on playing this one choosing the best combination of units to achieve the objectives.  Actually apply tactics and such.  Then I saw the M3 Stuart and my mad scientist brain started kicking in.


The M3 Stuart is a light tank from the beginning of the war but it can also mount a ridiculous number of machine guns.  One coaxial MMG, one hull mounted MMG, two hull mounted LMGs, one pintle mounted MMG, all with a light anti-tank gun for the icing on top.  This means this tank can lay down 23 dice just for the machine guns on a Fire order.  It's also a third of the total points, has weak side and back armor, and makes some of the objectives impossible to achieve since that can only be done by infantry... but it's still really tempting!  We'll just have to see if sound reasoning wins the day or the desire for more dakka!  Until next time...

Thursday, June 20, 2019

Random Updates: Painted Ghar, Tabletop Warlords, and Proxy Isorians

I'm not gonna lie, I had originally been planning on trying to get in a game of Antares featuring the Algoryn troops of Yadrolla against the mighty Ghar Empire!  It didn't quite work out that way but instead I was able to actually get some paint onto my Ghar.  Huzzah!


This isn't the finished product but it gives you an idea what I'm going for.  Originally I was planning on painting my Ghar red because... well, because I like to paint things red.  It's kind of a trend.  After reading more about the Ghar, I don't see them as being so concerned with things like paint.  I mean the studio paint scheme for the Ghar is really crisp but I like the idea of having them dirty metal instead.  Their suits are churned out on an assembly line and sent out to war.  I plan on carrying this through with the outcasts as well, making them dirty from the harsh life they have been forced to live.  No idea how it will work out since I don't have a lot of experience with weathering minis but this seems like a great place to start.

I have also been watching the Tabletop Warlords on Youtube, a great channel that features Gates of Antares battle reports plus they are looking to expand into terrain making videos as well.  Sergey and Kevin do a great job breaking things down, making it easy to follow what is happening in the game, and they have a good chemistry that make them really fun to watch.  I recommend checking them out if you currently play Antares or are looking to find out more information about how the game works.

All of which leads nicely into my next tidbit, proxied Isorians.  When I first got into Antares the Isorians just didn't appeal to me aesthetically.  As I learned more about the game, they (along with pretty much all the other factions) really started to grow on me.  Unfortunately the Isorians are one of two factions that don't currently have a plastic set for their core infantry and I can't really justify plunking down more money while I'm still working on assembling and painting my first three armies.  Thankfully I stumbled across at least a temporary solution to this problem; the Therians.

This blog first focused on the game AT-43 by Rackham Games.  Unfortunately Rackham went the way of the dodo years ago but I still have all of my old Therian minis.  The Therians are basically a mechanical race but stylistically they have an organic look to them... just like the Isorians.  So, bada bing, bada boom...


...and instant Isorians!  While I do have a good number of Therians floating around, I don't have enough to be able to field a large Isorian proxy force.  I'd invested pretty heavily into the Golgoth walkers compared to the regular infantry units but I can pull together enough ground pounders for about 500 points, which is good enough for me to be able to try pushing them around to see how they play.  Who knows, it might even lead to yet another army for my collection.  Until next time...

Monday, June 17, 2019

Antares: The Mighty Ghar Assemble!

Having played some games with my Algoryn and Concord forces, I decided it was time to get my Ghar on.  I must admit that these are some of my favorite minis for the game but I'd stayed away from them due to the extra rules that come with them.  My first goal was to have a couple of armies that I could use for demos and the Ghar just don't seem to fit that very well.  With all their special rules and exceptions to the norm, I'd planned on looking at the Ghar later... and then there was that first sprue sale way back when.  Then I found an army box for about half price... Then there was the command crawler that was half price on Amazon...  And the outcasts for half price...

Yes, I admit it; I'm a sucker for a deal.

Sucker or not, I'm glad that I've picked up the ugly little bastards.  They have a lot of character and I can't wait to give them a try.  For now I've put together (but not painted) a 750 point list to try pushing around against the Concord and the Algoryn.


This force seems small since its only five order dice before the plasma amps but I think they will be fun to play.  There are two battle suit squads supported by a mob of ten outcasts and led by a command crawler.  This seems like it will be a good core to build from but I'm thinking that instead of going with Ghar Empire as I'd originally planned that I'm going to make them Ghar Exiles.

Looking over the lists from Antares day, it looks like the points are comparable but they can mix battle and assault suits together in their units.  Since I own a fair number of assault suits (due to the aforementioned sprue sale) this will work really well for me.  I still need to pick up the Dronescrouge Returns which has the Exile list but until I grab it, I'm just going to use the points for the regular Ghar list but use them as they are modeled.  I'm just doing this for fun so I might as well see how they work, right?  But first, the 750 point battle... coming soon!  Until next time...

Thursday, June 13, 2019

Wrath of Kings: Building The Forces of Teknes and Goritsi

Lucky me, I got to have an extended weekend this week!  Of course it was because of a stomach bug that had me running for about 48 hours straight but I was able to get some more of my Wrath of Kings minis based before all that fun happened.

For Teknes I added in more of what I had already fielded; more pigs, defender linemen, warsmiths, and a union boss. Nope... scratch that last one.  Apparently I forgot to base the union boss to bring with me.


Plus I added a type 2 specialist, the C.A.G.E.  Type 2 specialist are beefier versions of the specialists with more special powers as well.


In this case, the C.A.G.E., a technomatic suit of power armor with a nasty punch.  Not that the Teknes force seemed like it needed heavier hitters after the first game but it's kind of cool looking so I want to see how it does.

Meanwhile, for Goritsi I added a new unit, the Zeti war dancers with their leader, the dancing master.  These vampires literally dance across the field, slaying their opponents as they leap over their heads. 


What makes them even more dangerous is the dancing master.  While in her sphere of influence, the war dancers can adjust their attack rolls up or down by one.  Considering how many times the Goritsi were off by one in the last game, I think this could make a huge difference.

And speaking of huge, there is also their type 2 specialist, the blood engine.  This massive beast can do massive damage and even regenerate damage itself as it eats the models that it kills.


Oh, and there is another shield breaker as well; good damage potential and I love the model so it only makes sense.

Now that I've got these extra troops, I plan on another game of Wrath of Kings to see how they add to the game.  In fact I've already got the two forces figured out.  For the Teknes...


...the force will be lead by a union boss, supported by two defender linemen controllers.  For troops, there are eight pigs and two warsmiths, with each of the warsmiths being supported by three linemen.  This give the army a solid group of shock troops (the pigs) with two solid supporting linemen units built around the warsmiths who can buff those around them.  For specialists, the galvanic defender and zaalak both are making a comeback (though neither was especially effective in the first game) with the walking tank that is the C.A.G.E. added for the heavy hitting choice.

Meanwhile for Goritsi...


...the dancing master will lead the force with two Skorza alphas acting as her seconds.  Five of the skirmishers will perform lightning strikes against the enemy with six war dancers clearing up what is left... plus there are two mercs because I forgot to grab my six skirmisher.  The specialists are a stark contrast to the rest of the quick moving units, two of the imposing shield breakers to hammer on the Teknes defenses and the massive blood engine to feast on the corpses.

This increases both of the armies and changed the size of the game from a patrol to a skirmish.  This size game also pushes beyond the contents of the starter army boxes but only just; fielding the entire army box leaves you short by two option choices, each of which is either one rank of specialist or three ranks of infantry.  This is also supposed to represent the standard game size which means I have just enough in all four of my armies to play on this level though some of the armies have to field a set list to fill all the spots.

All in all, I must admit that I might have gotten a little carried building up my armies considering WoK is a game that is no longer supported but I really like all the minis that I've picked up.  They are stylistically very similar to Rackham Confrontation minis but have been are much easier on the wallet.  I'm sure I'll wind up getting more to fill out the ranks even more but before I get to that, I plan on seeing how these forces stack up to each other now.  Until next time...

Monday, June 10, 2019

Wrath of Kings: Teknes vs Goritsi Patrol Battle

Well, it took long enough be I finally was able to give Wrath of Kings a test drive.  I've been slowly increasing my armies for months now and even though I keep planning to try it out it just hasn't been in the cards until now.  The question is, how did it go?  Read on and let's find out!

For this scenario I decided to use the two patrol forces that I'd posted earlier this year.  I've actually bought and assembled more since then but for now this seemed like a good starting point.  For Teknes, this amounted to six union workers, four linemen backed up by one warsmith, a zaalak, and a galvanic defender, with patrol led by a union boss with a defender lineman controller as his second.  Meanwhile on the Goritsi side of the table there were three Skorza skirmishers and six Ravenscar mercenaries, all led by a Skorza alpha and a Ravenscar sergeant as his second, supported by both a shield breaker and a scourge hound.  These are pretty generic forces which was the intention; I wanted to see how these played right out of the starters... though I did throw in the warsmith just because I had her available.

Another important aspect of this game is that each faction chooses a motive before the game.  This has additional in game effects and really defines what each army is trying to accomplish.  In this case I decided to give them both steal intel.  Each side was given a pool of tokens equal to the total leader ranks (two in this case).  When a model attacks an enemy leader or specialist (Oops... missed that last bit. Thought it was only leaders.), if the model hits than it gets one of the markers.  At the beginning of the model's next activation, the enemy force looses two morale points and the marker is removed from the game.  Since the Teknes force had a morale of seven while the Goritsi had a morale of six, just those two markers could seriously hurt either side.

As for the gaming surface itself, I considered just spreading my new battlemat on the floor but I decided to go with the smaller tabletop first.  At 3' long it was just enough that I didn't have to adjust too much for the deployment zones and it let me wander around a little easier as I checked rules and stat cards.

Speaking of the game surface, another interesting thing about this game is how little terrain is called for.  After Antares where an open fire lane is a dead zone, WoK has very little ranged combat and even then the ranges are quite small so its not like you need to block LoS.  The official rules call for one to three pieces per player so I decided to split the difference and put down basically three pieces total; two small woods and some scattered walls like the remnants of a building.  Once that was done, I randomized the starting edges, deployed the troops, and rolled for initiative!


The game began with me accidentally reversing the initiative.  Teknes should been first but... oh well.  Instead the scourge hound raced forward to get into a better position, bringing along the nearby skirmisher in the process.


The first of the little pigs went next with three of the union workers moving forward but not sprinting. They didn't want to get too close to the Ravenscar without having an attack ready.


Of course the Ravenscar didn't have an issue with getting closer. Three of them sprinted forward and used their combat reflexes to maneuver behind the pigs.


Not the best plan as they quickly turned into a bacon sandwich as the boss charged forward with the rest of the pigs. Only one of the mercs died but still not a good place to be.


The Skorza alpha went next sprinting forward with his two werewolf brothers, heedless of the zaalak hiding in the bushes.


The zaalak which promptly burst forward and lashed out at the alpha, inflicting a single wound for its efforts.


The galvanic defender went next, moving forward and activating his galvanic feedback aura.


Meanwhile on the northern side of the board, the Ravenscar sergeant charged forward with the rest of his troops and attacked some of the union workers that now surrounded the rest of his troops.  Unfortunately their blows were casually knocked aside by the porcine brutes.


Three of the defender linemen moved next, positioning themselves between the approaching Skorza and the galvanic defender to take advantage of his galvanic feedback aura. (In hindsight this was somewhat pointless as the Skorza have no magical attacks but that's what happens when you are learning the game.)


Next shieldbreaker moved up, turning away from the linemen to get into position to attack the pigs next turn.


The last of the Teknes force moved up to beside the galvanic defender, just to keep the scourge hound from getting any ideas about flanking him.


Lastly lone Skorza on the northern side of the board charged forward to end the turn. She lashed out at one of the pigs but wasn't able to land a blow.


Initiative for turn two went to Teknes and the zaalak sprang into action, securing the intel it had stolen from the alpha before lashing out with it's tentacles to no effect. Then again, it already cost Goritsi two morale points with the info that it had taken so it had already served it's purpose.


The Ravenscar went next and the sergeant was able to down one of the pigs by himself but two other mercs only wounded another even with their combined strength.


The pigs responded by taking out one of the mercs and the sergeant to boot. This would be another two morale points gone unless that little piggy could be stopped!


The skirmisher looped around and attacked the offending pig but just couldn't land a killing blow.


The three linemen moved forward next to try to tie up the Skorza but in the end they only enraged it.  Slicing down not one but two of their number, the enraged wolf now had a clear path forward.


The last pig activated next, hacking into the mercenaries that were attacking him and dropping one in the process.


Finally in position, the shield breaker charged at the pigs but fell short of making contact with them... or so I thought. I later realized that I looked at the wrong card. His huge axe appropriately enough give him a 2 inch melee range but I looked at the card for the skirmisher who has to be in base contact. Whoops!


The galvanic defender went next, moving clear of the other Teknes troops to launch a magic attack at the shieldbreaker, piercing his armor and inflicting a wound in the process.


The scourge hound took advantage of the opening and charged forward, her blades flashing as she sliced into the galvanic defender who blocked her attack. The lineman controller than moved forward and slammed his hammer down into her, sending her crumpled form to the ground.

Goritsi won the initiative for turn three and the alpha rushed at the nearby cluster of troops, just barely falling short. The other two Skorza fared better on their movement but only one of them was able to dispatch their target.


The pigs went next, driven on by their boss. With most of them pain fueled now, they were able to down two more mercs and wound the other Skorza. This took the Goritsi morale to zero so this would be it after this turn.
 

The shieldbreaker broke away from the pigs he was engaging and launched himself at the boss, causing two wounds but still leaving him standing.


The lineman controller attacked next, supported by one of the linemen. Their Skorza target went flying back and landedd in a crumpled heap on the ground.


The lone Skorza by the pigs circled around to try to finish off the boss but wasn't able to land the killing blow.


The galvanic defender moved forward to launch another magic attack on the shieldbreaker but this time failed to have any effect on him.


The last Goritsi to left to activate was the only remaining mercenary.  His blades flashed through the air but ultimately he wasn't able to hurt the creature at all.


And to end the game, the zaalak charged at the alpha again, not doing any damage but perhaps instead slapping him like it was the end of a Three Stooges episode.  "Hey Moe! Hey Larry! You lost!"

Final Thoughts

Overall I enjoyed the game.  There was some back and forth as I was checking rules and such but for the most part it seemed pretty straigthforward.  I'd heard elsewhere that the constant card flipping bothered some but I didn't really see it as that much of problem.  The combat mechanic seems interesting enough with the different abilities and power modifying the results to create a new dynamic depending on who is attacking.

While I really enjoy the order die mechanic used in the various Warlord Games, Wrath of Kings still has a back and forth so there isn't a lot of down time you are contending with.  This can also be affected by losing a leader as that will limit how many units you can activate at once.  While not a big deal initially, once a side has moved all of their models they pass their turn.  At this point the opponent only has one more activation and then the turn ends so if you loose all your leaders early, you can effectively be caught with your pants down.

As for the two armies themselves, the Teknes were surprisingly tough.  In particular the union workers were really nasty.  They all have the ability of pain fueled which means that they basically go beserk once they are damaged.  This leaves you trying to take them out as quickly as possible because if you just have a bunch of wounded pigs, they are even more dangerous.

The Goritsi on the other had were almost delicate.  The Skorza werewolves are very fast and hit like a truck, but if you're not careful they will quickly go down.  The Ravenscars seem to be even more fragile but I wonder if part of the problem was their limited numbers and activations.  Looking over the unit cards, the Zeti war dancers might have faired better against the pigs because their leader can let you manipulate the damage chart, giving them a slight edge.

I will definitely try mixing things up a bit in the future to see how the different combinations out, plus I still have two more armies to put together.  Lots of options here and I'm glad that I've picked up as much as I have.  Until next time...

Thursday, June 6, 2019

Workbench: Gardening Of Antares

Since I'm still traveling out of town for work, decided to add some more terrain to what I have to work with.  Looking through the bits and pieces that I've been digging out while cleaning up my office, I was surprised at some of the stuff I've picked up.  I'm still focusing on more verdant terrain but trying to do things that are a bit more alien looking.


A lot of these are still works in progress, but these will give me more options as I try something completely different...


...gaming on the floor.  This bumps up my available gaming space to just shy of 4' by 5', a much more respectable size than the 2 1/2' by 3' that I have been using.  Unfortunately I don't have any hills available but I think I have enough other terrain to break things up and make it interesting.

Speaking of interesting I also brought along my Goritzi and Teknes armies so I can finally push around Wraith of Kings, plus the friendly neighborhood Ghar have made an appearance for more Antares action.  Now I just need to figure out which one will be first.  Until next time...

Monday, June 3, 2019

Gates of Antares: Algoryn vs Concord Tactical Smackdown!

Over the course of playing the Strike on Kar'A Nine scenarios, one thing pretty consistently happened; the Concord got their butt kicked.  Part of this was due to the dice as the Concord rolls were pretty poor overall but I couldn't help but wonder if there was something else going on.  Heck, maybe I was just playing them wrong!  To find the answer, I decided to play a basic scenario with mostly tactical choices.  These are the units that form the core of the army so it should give me a better baseline for how the Algoryn and Concord stack up against each other.


On the Concord side there are four strike squads.  The Algoryn have a bit more variety due to what I had on hand; three AI squads, one AI Assault squad, and one AI medic team (need to use up those last few points).  Ideally I would have loved to just run strike squads vs AI squads but I didn't want to proxy minis... and I didn't think of it until just now either.

The terrain is also pretty basic just to keep that from being a factor.  The rocky barriers count as intervening terrain and give a -2 Res modifier for units in contact; the rocky pinnacles block LoS, can be crossed without penalty and give a -2 Res modifier for units within them; and the buildings and spike plants just block LoS and movement.


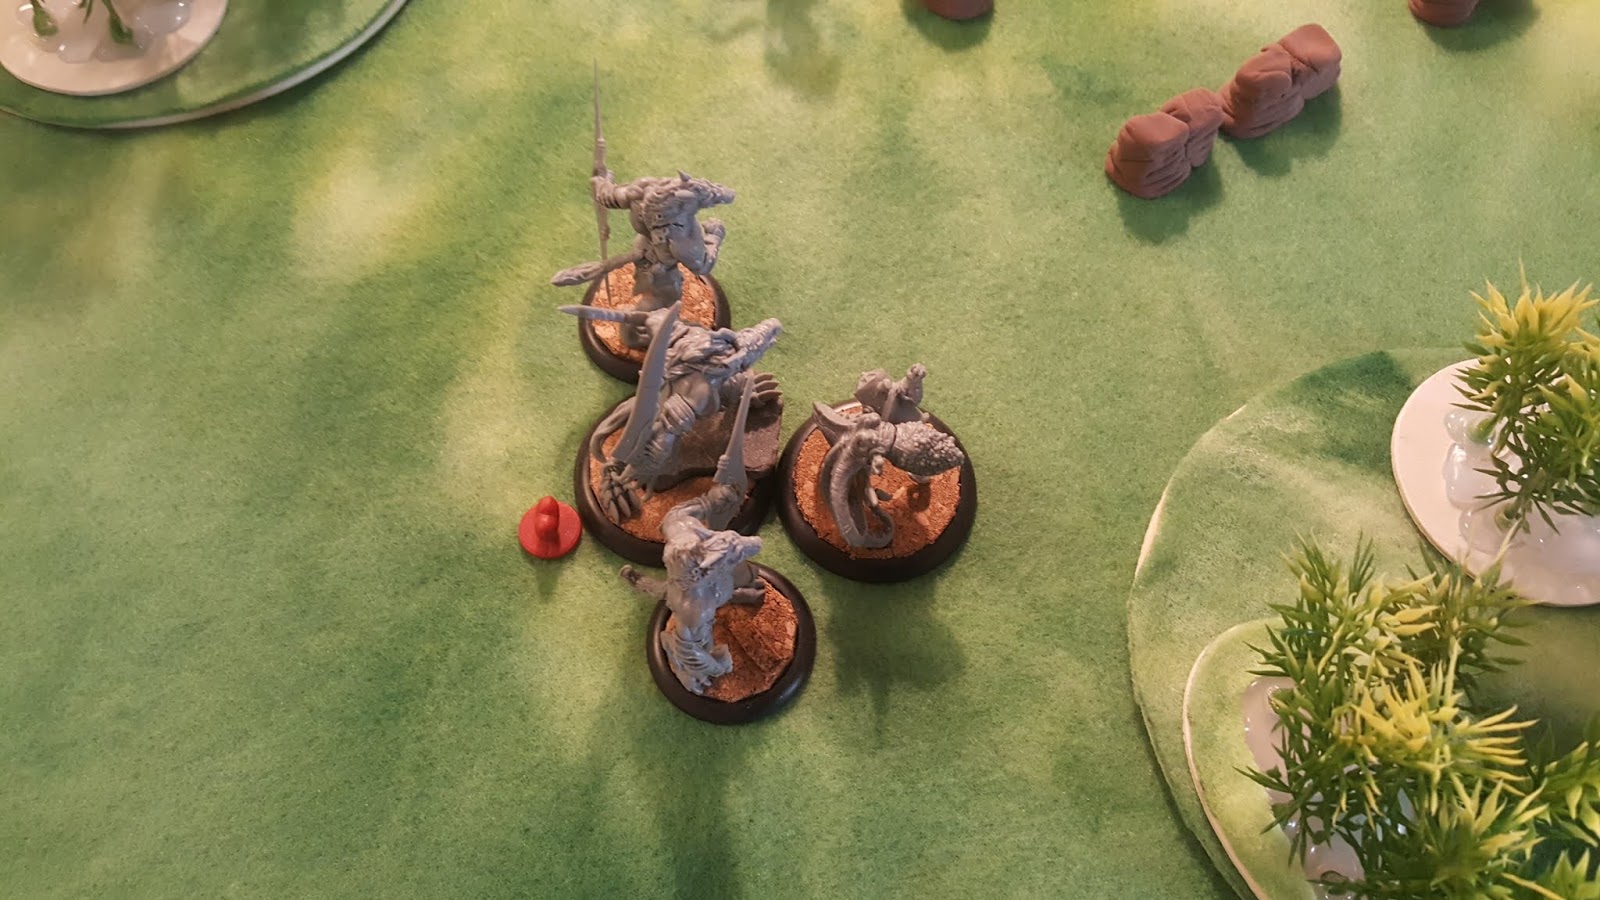
The game opens with the AI assault squad sprinting forward.  Unfortunately they didn't warm up before the battle so they suffered a pin for their efforts (always stretch first kids!).


The Algoryn pull the next order die as well and the northern AI squad follow the assault squad's lead, sprinting forward to get into position behind the rocky pinnacles.  Unlike the troops from the regular Algoryn military, the garrison troops have a regular conditioning program so the extra bit of running is no trouble for them.


The dice continue to love the Algoryn as yet another of their units moves.  This time the southern AI squad runs between the rock barriers to get into better position.


After pulling yet another Algoryn order die, I made sure the Concord dice are in the bag and then run up the AI medic team so they could first aid either AI unit on the southern side of the board.


Amazingly enough on the fifth die, the Concord finally get to go!  One of the two squads on the northern edge advances forward and fires on the AI squad skipping up the path.  Their shots rip into the unit, taking out the AI spotter drone and one of the AI troopers as well.


The Concord continues their streak with one of the southern units advancing behind some cover.  With that assault squad lurking down there, I want to make sure I had a unit to respond to them when they break cover to move forward.


The Concord move again, this time with the second squad on the northern edge moving forward into the rocky pinnacles to get some cover.  They don't have a clear LoS to any targets but at least they are in a better position.


The second AI squad on the northern edge moves next, getting into cover and opening fire on the northern strike squad that is in the open.  They are able to land a couple of hits but the hyperlight armor is more than enough to stop their mag rounds.


Finally the last Concord strike squad moves forward behind cover.  I could have run them forward to actually get them into the cover but that AI assault squad is a little too close for comfort right now.


Turn two opens with the AI squad that was skipping up the path going down as they fail their order test.  Nothing like hugging the dirt right out in the open to keep yourself safe.


Next the strike squad that is standing around in the open advances into cover behind the nearby rocky barrier.  From this vantage point they open fire on the closest AI squad, putting a pin on them but not penetrating the Algoryn reflex armor.


The battle crazed medic team moves next, running around the building to get into position to support the fearless assault squad that haven't moved yet.  Really, they are very brave, just very patient as well.


Next one of the Concord strike teams on the southern side goes onto ambush, ready to open up on anyone that comes charging around the corner.


The AI squad in the north moves next, advancing into the rocky pinnacle to get some cover and then opening fire on the closest strike squad.  Their shots connect but the mag rounds only succeed in taking out the spotter drone.


The AI assault squad goes next, running forward but staying outside of the rocky pinnacle, using the terrain to block LoS to the nearby strike squads.


The second AI squad in the north then advances into the open so they can get a shot off at one of the strike squads.  The shots connect but between the hyperlight armor and the rocks, they have little effect.


The other strike squad in the north hold their ground and fire on the nearby AI squad but they also fail to cause any casualties.


The Concord round out turn two with their other southern strike squad going onto ambush as well.  Those assault troops might be nasty in close combat but the Concord are ready for them!


Having recovered from the traumatic skipping in the first turn, the AI squad moving into the center of the buildings opens fire on one of the strike squads.  Without their cover the Algoryn are able to take out one of the strike troopers and put the unit dangerously close to a break test!


The Algoryn continue to keep up the pressure as another AI squad advances and fires on the same strike squad.  Another trooper falls and it proves to be too much for the rest of the squad as they break and run for the hills!


The other AI squad in the north lines up their shots and fire on the remaining strike squad on their side of the battlefield.  None of the Concord troops go down but they do lose their spotter drone.


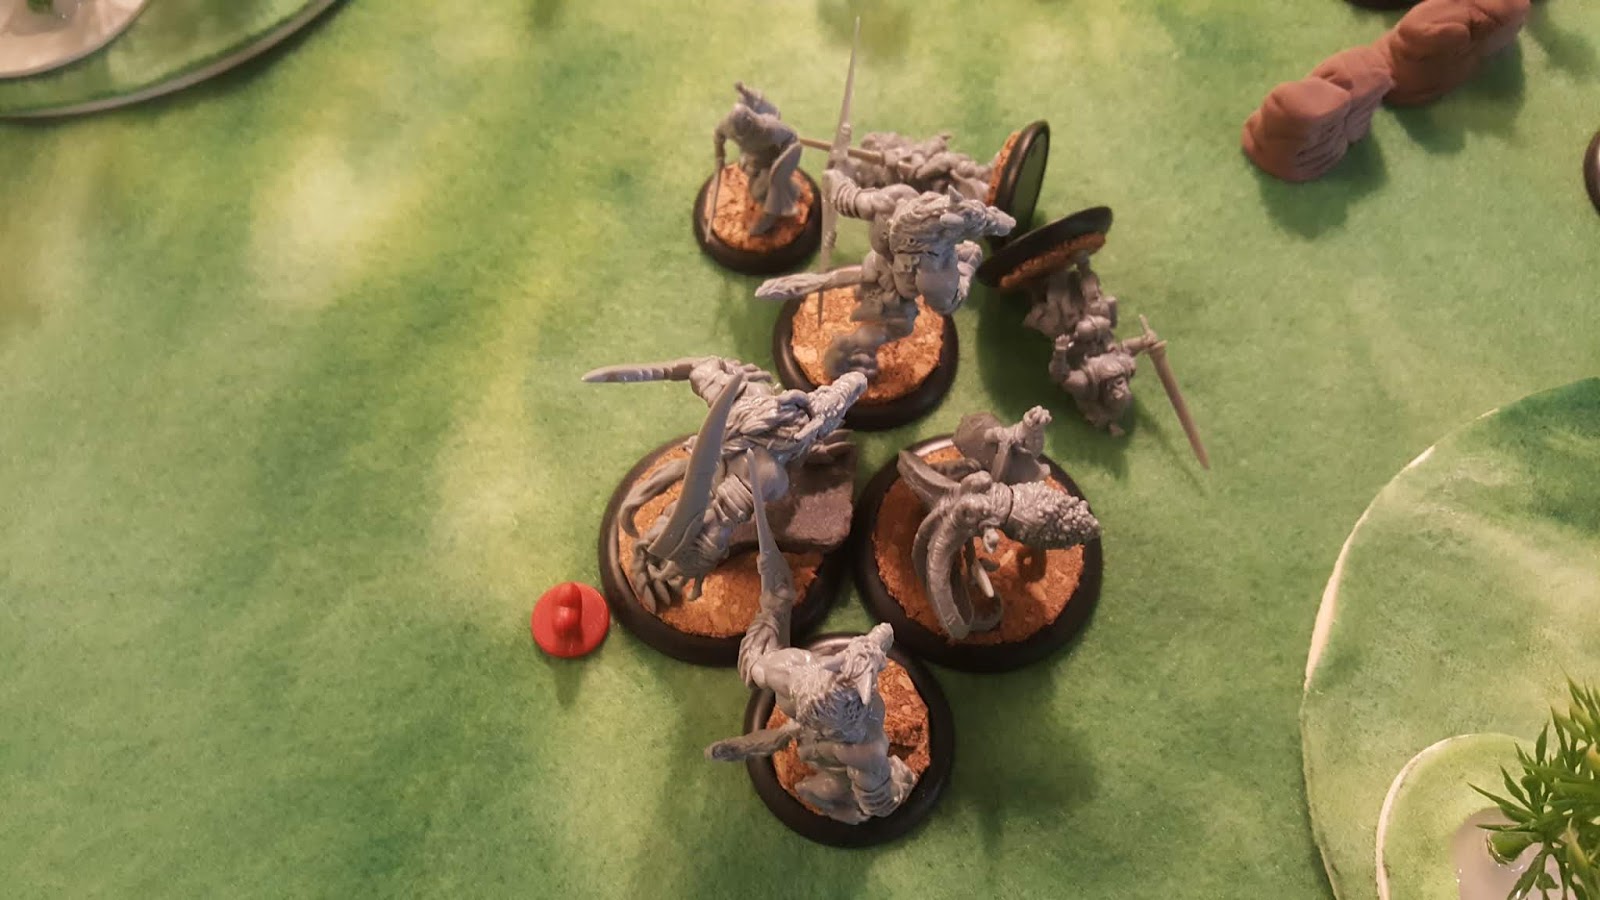
The AI medic team moves into cover followed by the assault squad who charge through the rocky pinnacles to engage the strike squad.  Both of the strike squads are ready for them though and let loose with two volleys of plasma.  Again the Concord dice betray them as only one assault trooper goes down from the ten shots that pound into the unit.


As the assault squad finish their charge, both units lay into each other at point blank range!  Again the strike troops can't find any weak points on the AI reflex armor but the same can't be said for them as three of the Concord troops fall to incoming mag rounds.


Coming to blows, another Concord trooper falls in the melee but then things go a bit haywire for the assault squad.  Mechanically, both sides have two pins on them once the combat ends which means that neither side won and both need to take a break test.  Somehow the single C3 trooper passes his test while the assault squad that out number him four to one fails, send the Algoryn troops running back to their own lines.


Emboldened by the comrade, the remaining Concord squad opens fire on the AI squad that took our their buddy drone.  The plasma bolts strike true... but fail to cause any real damage.


Turn four begins with the only intact strike squad charging the medic team.  You would think that this would mean certain doom for the medics but Algoryn are made of sterner stuff!


Once the dust settles after not one but two rounds of combat, one medic is down and the other breaks away from his five assailants and moves back towards his own line.  Note that he didn't run away, just consolidated into a better position... because apparently he is distantly related to Chuck Norris.


The AI skipping squad goes next, opening fire on the north strike squad and downing two of the squad members!


One of the nearby AI squads tries to capitalize on this by charging the remnants of the strike squad.  The combat is brutal as two of the strike troopers fall, as does one of the AI troopers...


...but once the dust settles, the outcome is very similar to the other assaults; both sides tie and rallied, leaving the Concord squad almost wiped out... but not completely.


The other AI squad ran forward at this point, trying to get into position for next turn to take out the lone survivor.


Meanwhile, another lone survivor (the AI medic in this case) runs behind the closest AI squad.  From this position he can tend to any wounds they might suffer and definitely not use his comrades as a meat shield to keep himself safe.


Enraged at having the rest of his squad wiped out, the lone strike squad leader advances and fires on the closest AI unit.  Once again, his shots are true but fail to penetrate their armor.


Last but not least, the lone strike trooper in the north realizes just how up the creek he is and freezes, going down in the face of the two squads close on his position.


At this point, you'd think that the Concord's fate is sealed.  Heck, I almost just called it after the last turn but what happens right off the bat?  The AI squad that is in the position to just walk up to the single strike trooper and end things panics, going down instead of facing this lone solider.


Meanwhile, the skipping AI squad advances and opens fire on the solitary C3 squad leader, peppering him with mag rounds but he shrugs them all off, apparently determined to avenge his squad.


Maddened by this, the only intact strike squad charges skippy squad.  The point blank fire is brutal, with both sides losing a trooper.  At this point, both sides decided to take a long, hard look at their life choices so far instead of actually fighting (I guessing this is the case since neither side manages to inflict even a single wound).  After deciding maybe they should be nicer to strangers in the future, the two squads go their separate ways with the AI squad moving back to see their medic for therapy.


Meanwhile, the lone strike trooper from the north side of the board decides he doesn't like his odds and runs south as far and as fast he can, leaving him slightly winded but in a theoretically safer position?  Maybe?


The remaining AI squad decide they had no idea what anyone else was doing but they were definitely here to fight, opening fire on the C3 unit pondering how it could have lived a better life and relieving one of them of the burden of considering such things any further.

Last but not least, the AI medic has a deep conversation with his patients, reminding them why they are here, and convincing them they are doing the right thing (all of this while going down himself of course).

After the existential dilemmas of turn five, I must admit that I'm curious how the two factions would deal with the ultimate finality of turn six.


The lone C3 squad leader decides that having a quick lie down is probably for the best, all things considered.


As did the skippy AI squad.  (I'm starting to think someone should check that medic's credentials).


Thankfully, the AI squad that had bravely pressed on the face of everyone else falling apart continues forging ahead, this time dropping two more of the strike troopers, reducing the Concord to a third one man unit who refuses to give up (well, except for the squad leader whose having a lie down, but let's not talk about him right now).


Raging at the death of his squad, the new solo trooper opens fire on the skippy AI squad as they lay there staring at the clouds and still manages to take one of them out.


Channeling the fury of his comrade in arms, the other solo trooper from the northern edge also fires on skippy squad, taking out another trooper in the process.


Unfortunately for the C3, the other AI squad from the north side of the battlefield decides at that moment to see what everyone else was doing and kills the squad leader having a quite moment to himself.  Sometimes there just isn't any justice.

So... the Concord lost... again...

Even so I still don't think that this is necessarily a good example of how they play.  The dice rolls were all over the place for both factions and as can be seen by the deeper philosophical considerations of turn five... well, things just got weird.

One thing that I did notice was the difference in single shot with the plasma carbines vs scatter shot.  The previous scenarios I had been using primarily scatter shot with the C3 in the hopes of the volume of fire causing casualties.  This definitely didn't pan out while this game was all single shot and they seemed to fare better for the most part.

I also want to have more terrain on the table or at least more terrain options.  As I'm out of town for work right now, I'm limited to what I grab from home on the weekends so I'll have to see what I can muster up before heading back out for the week.  Until next time...