

With the C3 finally scoring a win with Scenario three, I was eager to see how they would fare in the next one. As with all of the scenarios in Kar'A Nine, this one was objective driven but it really puts the pressure on the C3. They need to reach a downed drone in the center of the board and then retreat with it in five turns and before the AI can destroy the drone.
The scenario opens with two strike squads deployed along the south western edge of the board while two AI squads are deployed in the opposite corner. The objective for this one is the drone right in the center of the board.

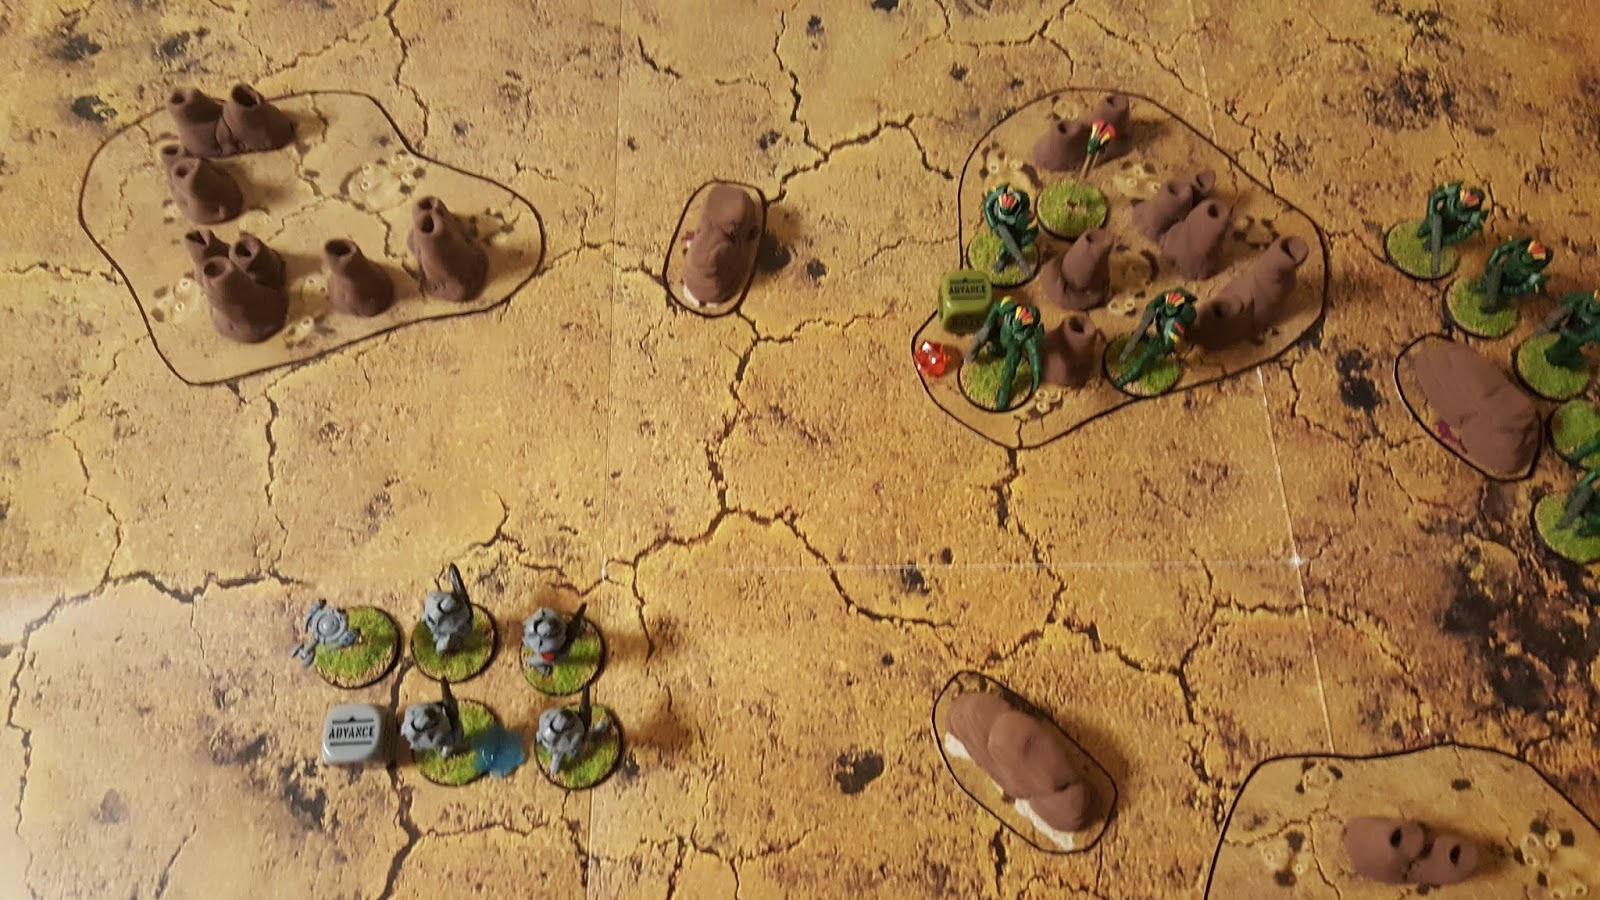
The Algoryn on the eastern edge activate first, advancing forward behind the rock barrier and opening fire on the drone (the drone starts with the Down order and the rocks that are around it are just there to represent the crater it crashed it... no impact on the gameplay, just a visual). The C3 is lucky as none of the shots connect with the crashed drone and it survives a little bit longer.

The closest strike squad activates next, running into contact with the drone so they can activate it. This leaves them sitting in the open but there aren't any other options at the moment.

The second AI squad activates next, advancing and firing on the drone. Unfortunately they hit the drone and take it out with their first volley. So according to the rules for the scenario, that's all she wrote. This seems kind of anti-climactic so I decided to change things a bit. Since the drone was destroyed I decided that the C3 pulled the memory unit from the drone and needed to escape with it. This kept things from ending quite so quickly.

The other strike squad is the last to activate this turn, advancing forward and letting loose some shots at the eastern AI squad to try to take some of the pressure off their comrades next turn. Unfortunately they can't connect with any of their shots.

The AI get the first activation for the second turn and the eastern squad opens fire on the central strike squad, downing the lance trooper in the process.

Unfortunately for the Concord forces, the second AI squad activated next and they lay into the central squad again. The squad leader and another trooper are both downed but the remaining trooper holds his ground. He even hardens his resolve and moves over to grab the memory unit from his fallen comrade.

The second strike squad activates next, advancing forward and opening fire on the northern AI squad and dropping a couple of troopers in the process.

Turn three begins with the eastern AI squad opening fire on the central strike trooper, dropping him in a flurry of mag rounds.

The northern AI squad goes next, advancing into cover while they fire at the remaining strike squad.

The strike squad shrugs off the rounds and then advances forward, grabbing the data so they can try to escape with it.
The AI get the initiative again in turn four as the eastern AI squad opens fire on the strike troopers. Again the shots bounce off their hyperlight armor to no effect...

But just the single pin is enough. The strike squad fails their order check and are forced to go down instead of trying to get off the board with the unit.

At this point I called it thinking that it was turn five instead of turn four but it seems like the odds were really stacked against the Concord. Could they have made it off the board? Maybe... but they were facing two squads of AI while stuck out in the open... so it's not too likely.
The odds were really stacked against the Concord right from the start with this scenario. This made the whole thing that much more tense but I think I would change it if I ran it again. Perhaps using two full strike squads would have helped balance things out a bit more. That's only two more troopers but that could have been enough to tip the balance in this case.
For the final battle, the two forces pull out all the stops as they both launch all out assaults. Kar'A Nine has a set force list and suggested terrain but I'm going to break out all the terrain I have on hand and actually build a couple of forces for the fight. I'm limited on table size (roughly 2 1/2 feet by 3 feet) so I'm going to try to stay away from too many OH and long ranged weapons but we'll just have to see what I come up with. Until next time...
No comments:
Post a Comment