

The second scenario features two small C3 Strike fire teams probing the Algoryn lines for weaknesses. For the initial table set up, the two C3 fire teams set up along the east edge of the board. Meanwhile the Algoryn deploy one squad on the western edge while another is deployed on the northern edge. This scenario is meant to introduce the Ambush command so the AI unit on the northern edge starts in Ambush.

The first turn the southern strike squad runs forward to get the cover between themselves and the AI squads. The western AI squad moves next, running forward to start getting themselves into cover as well.


Turn two starts with the C3 getting the initiative as the northern squad advances into their cover and fires on the northern AI squad before it can move. A lucky shot takes out the spotter drone but the rest of the Algoryn are protected by their reflex armor.

The southern strike squad moves next, also advancing into cover and opening fire on the same AI squad. This time the Algoryn don't fare so well as the squad leader and one of the troopers are both taken out of action in the hail of plasma fire. The remaining troopers pass their break test but things are looking grim unless they get into a better position quickly.

The Algoryn in the north run over to get into the nearest cover well while the other AI squad secures their position and fires on the southern strike squad. Their shots fail to take out any of the enemy but at least they manage to score a hit on them.


Seeing their comrades in need of assistance, the southern AI squad opens fire on the strike squad that hasn't activated to try at least get pin on them. They managed to do much more than that as a lucky shot takes out the C3 spotter drone and one of the strike troopers falls as well.
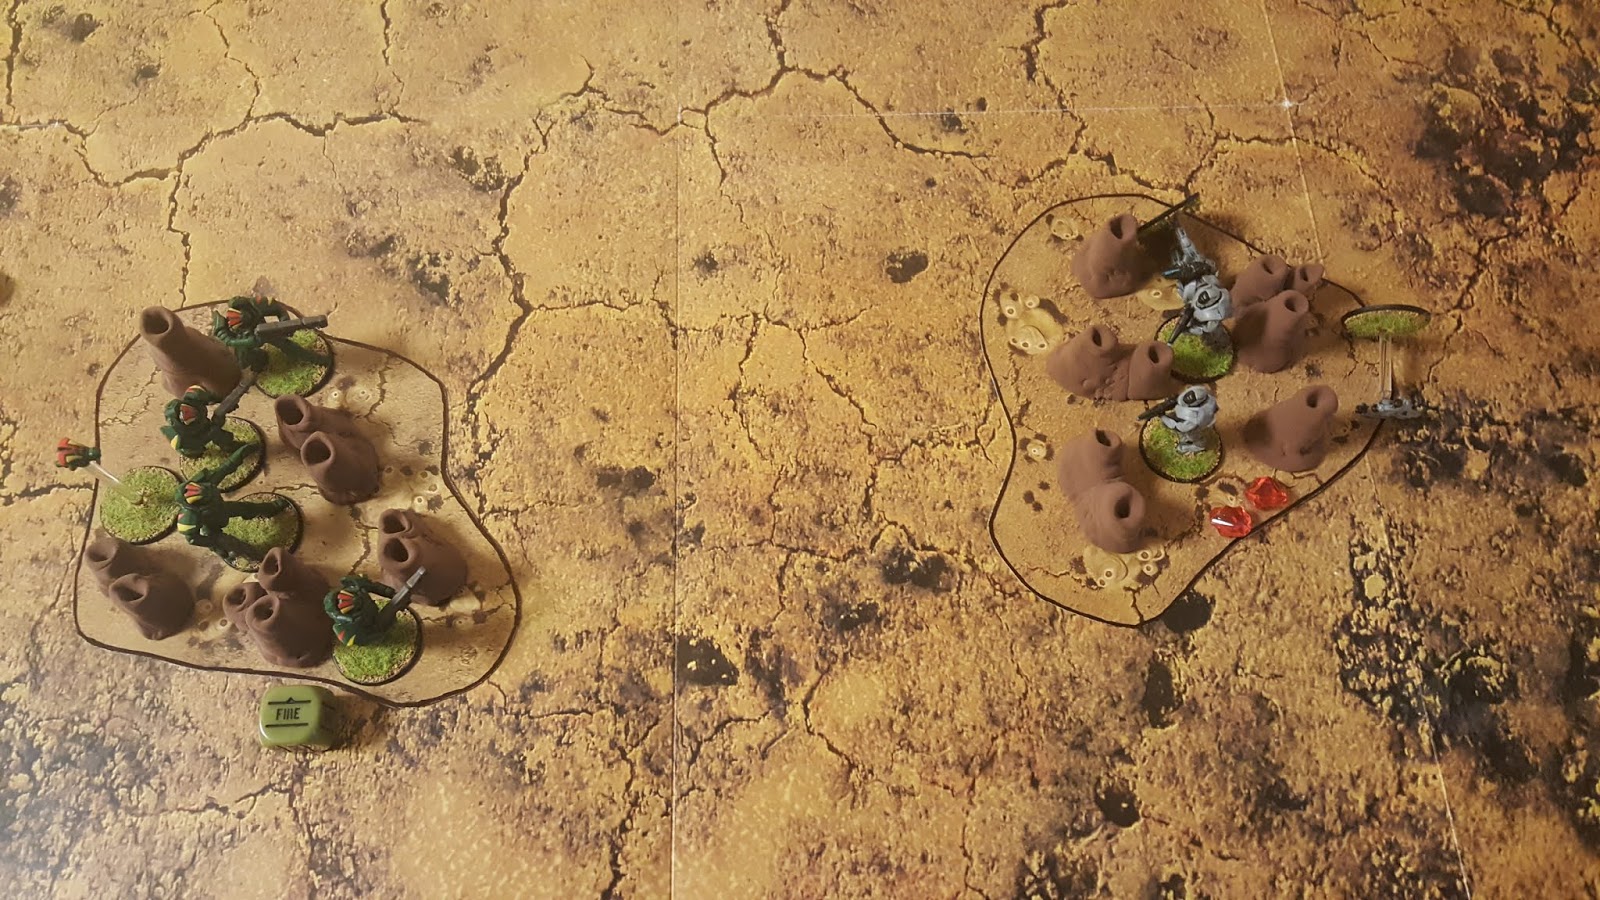
The two AI troopers left in the northern squad try to take follow up on their comrades success but are unable to coordinate their attack and take cover instead. Shocked at loosing one of their own, the remaining strike squad also goes down as they try to figure out what to do next.
Turn four begins with the northern AI squad opening fire on the southern strike squad but are unable to connect. The strike squad fires back in response but their shots also go wide. Knowing that time is of the essence, the northern strike squad opens fire on the northern AI squad but are again unable to take down any of the Algoryn troopers.

The southern AI squad then opens fire on the weakened strike squad and are take out the two remaining troopers in a flurry of mag rounds. This puts the C3's mission in jeopardy but there is still a chance that they can eliminate one of the AI squads and achieve their objective.
Knowing that their survival is key, the northern AI squad goes down among the rocks to try to survive the inevitable plasma onslaught. The strike squad opens fire but aren't even able to connect with the target.
The remaining AI squad open fire as on the strike troopers before they are able to duck back into cover and manage to take out one o the troopers along with their spotter drone as well!

Having endured the C3 raid and keeping them from finding any weaknesses in the lines, the Algoryn win the day again... or they would have if I'd realized this was turn five. I actually played one more turn and the C3 were able to break the northern squad to score the win. To bad it didn't actually happen that way...
Overall this was a brutal battle. The C3 started in a good position as they were able to quickly reduce the northern AI squad. Unfortunately for them they were unable to connect after that and the AI were able to hold on just long enough.
The more I play Antares the more I see just how valuable the buddy drones are. Though I've only used the spotter drones, being able to re-roll is a huge advantage. It's also been interesting to see how the armor and weapons of these two factions work. The C3 have better armor at a distance but once you are within 10" they loose that advantage, but their weapons have the added flexibility of being fired as a powerful single shot or more dispersed bursts.
I'm also looking forward to incorporating more terrain in the next scenario in the form of the rock barriers. Unlike the pinnacles, the barriers don't block line of sight but do provide cover so I think this will lead to more maneuvering opportunities for both sides. The next scenario is also the first to include one of the C3 light support drones so it will be interesting to see how they work as well. I will be using the drone damage table from the full rules for this scenario. The rules for Kar'A Nine just treat the light drone as another unit that can be destroyed with one hit but the actual rules add a little more depth to them.
In the next scenario, the Concord have located their downed drone and launch an attack to divert some of the Algoryn forces away from its location. Will their plan work or will the Algoryn see through their ruse? We'll just have to wait and see. Until next time...
No comments:
Post a Comment